How to Get the Clinic: Level 24 Cost and Materials
The Clinic in Palworld: technology level 24 for 2 points, all three build materials and the raw pile behind them, what it actually protects your base Pals from, and the best Medicine Production Pals to staff it early.
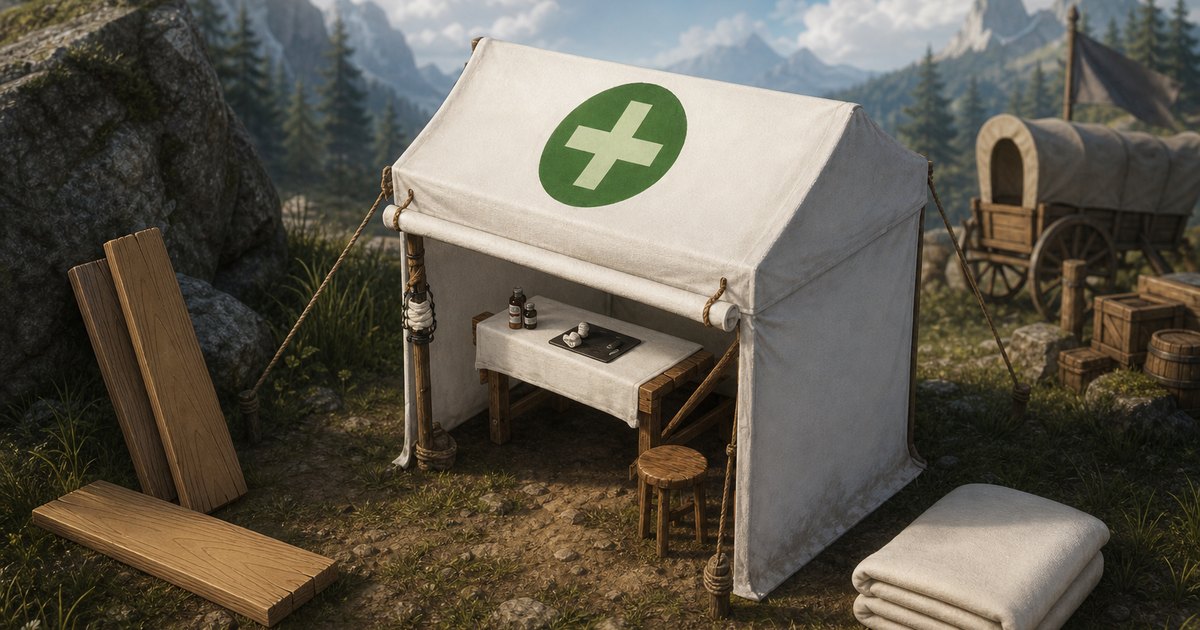
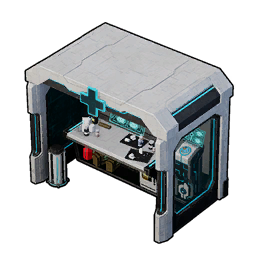
The Clinic is the level 24 Infrastructure building that keeps your base Pals from getting sick, injured, and miserable, and it is the first real answer to a base that keeps grinding to a halt. This guide covers the technology cost, all three materials and the raw pile underneath them, what it actually prevents, and which Medicine Production Pals you can realistically catch at that point to staff it.
 Clinic at a Glance
This is one of the cheapest quality-of-life unlocks in the whole tree: 2 technology points and three basic crafting materials, none of which need anything past a Primitive Workbench and a furnace. It draws no electricity, so you can drop it in any base at any point in the game without touching your power budget. The only ongoing cost is a worker slot — the Clinic does nothing at all until a Pal with Medicine Production suitability is assigned to it, and that is the part most people miss when they build it and see no change.
| What | Detail |
|---|---|
| Type | Base structure, Infrastructure tab of the build menu |
| Technology level | Lv. 24 |
| Technology points | 2 (regular points) |
| Materials | 10 Wooden Board, 20 Cloth, 15 Nail |
| Raw cost | 125 Wood, 40 Wool, 10 Ore |
| Worker needed | One Pal with Medicine Production Lv. 1 or better |
| Power draw | None |
| What it does | Slows SAN depletion and prevents illness and injury among base workers |
| Upgrade path | Ancient Clinic at Lv. 73 |
| Added in | The 1.0 update |
How to Unlock the Clinic
Reach character level 24, open the Palworld technology tree, and spend 2 points. Nothing else gates it — no prerequisite technology, no boss, no Ancient Technology Points. The level 24 row is a big one at 19 points across nine unlocks, and it is genuinely one of the best rows in the early game, so you will not clear it in a single level-up. If you have to prioritise, the Ore Mining Site is the one that changes your day-to-day the most, and the Clinic and Medicine Rack are the pair that stop your base from decaying while you are away. Everything else on the row can wait. If you are short, how to get more technology points covers the fastest ways to bank a few more.
| Technology at Lv. 24 | Points | Take it? |
|---|---|---|
| Ore Mining Site | 2 | First — it is the boss-unlocked one and it feeds every ingot you will ever need |
| Clinic | 2 | Yes — cheapest permanent fix for base illness and SAN drain |
| Medicine Rack | 2 | Yes — pairs directly with the Clinic and needs no worker |
| Fluffy Pal Bed | 2 | Yes — better sleep means less of the damage the Clinic is fighting |
| Makeshift Handgun | 3 | Only if you want an early sidearm; most expensive thing on the row |
| Azurobe Saddle | 2 | Later — only if you actually caught one |
| Dinossom Saddle | 2 | Later — same story |
| Foxparks Cryst's Harness | 2 | Skip unless you use the Ice variant as a glider-flamethrower |
| Flower Bed | 2 | Decoration — last |
 All Build Materials and Where to Get Them
Three materials, all craftable at the Primitive Workbench you have had since your first hour. Cloth is the expensive one — 20 of it means 40 Wool, which is the only material here you cannot just chop or mine. The Wooden Board line quietly adds 10 more Nail on top of the 15 the Clinic asks for directly, so budget 25 Nails, not 15. Do the Wool first and everything else falls out in a couple of minutes of Handiwork.
| Material | Qty | Where it comes from | Recipe per unit | Raw total |
|---|---|---|---|---|
| Cloth | 20 | Primitive Workbench | 2 Wool | 40 Wool |
 Wooden Board Wooden Board | 10 | Primitive Workbench | 10 Wood + 5 Fiber + 1 Nail | 100 Wood, 50 Fiber, 10 Nail |
 Nail Nail | 15 (+10) | Primitive Workbench | 1 Ingot makes 5 Nails | 5 Ingot, so 10 Ore |
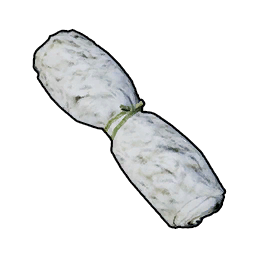 Cloth: 40 Wool from a Ranch
Wool is the bottleneck and the reason to build a Ranch before you build the Clinic. Three Pals drop it on a Ranch, and two of them produce at rank 2 rather than rank 1: Melpaca and Cremis. Lamball is only rank 1, but it is everywhere — 351 spawn points across the map versus 270 for Melpaca and 200 for Cremis — so most players end up with a pen of three Lamball simply because they walked past thirty of them getting to level 24. Any of them clears 40 Wool overnight. If you would rather not wait, sheep-type Pals also drop Wool when defeated, so a quick sweep through a Lamball field gets you there in one trip.
| Pal | Ranch rank | Spawn points | Why pick it |
|---|---|---|---|
 Melpaca Melpaca | 2 | 270 spawn points | Best Wool output per Pal, and easy to find in the open grasslands |
 Cremis Cremis | 2 | 200 spawn points | Same rank 2 output in a smaller body — fine if you found one first |
 Lamball Lamball | 1 | 351 spawn points | The one you already have ten of; three on a Ranch out-produce one Melpaca |
Wooden Board and Nail: 125 Wood and 10 Ore
The rest is trivial by level 24. The 10 Wooden Board want 100 Wood plus 50 Fiber, and since Fiber is crafted two-at-a-time from a single Wood, the real timber bill is 125 Wood — a few minutes at any Lumber node, and there are 4,654 of them on the map. The Nails need 5 Ingot through a furnace, which is 10 Ore off any of the 1,632 Ore nodes. If you took the Ore Mining Site on the same technology row, you will have both piles without going anywhere — how to farm Ore covers the best node clusters to build on.
| Raw material | Need | Best source |
|---|---|---|
 Wood Wood | 125 | 4,654 Lumber nodes on the map, or a Lumbering crew at base |
| Wool | 40 | Ranch with Melpaca, Cremis or Lamball |
 Ore Ore | 10 | 1,632 Ore nodes on the map, or an Ore Mining Site |
What the Clinic Actually Does
The Clinic is preventive, not curative. With a Medicine Production Pal assigned, it slows how fast your base workers lose SAN and cuts down how often they come down with illness or pick up injuries in the first place — the game describes it as managing the health of the Pals working at the base. It does not heal a Pal that is already sick, and it will not stop a Pal that has hit rock-bottom SAN from wandering off and refusing to work. That is what the Medicine Rack and your hot springs are for.
The in-game text is also upfront that its sanitation has limits, which is the honest version of what you will notice in practice: a Clinic makes a five-to-ten Pal base run cleanly, but a packed endgame base with an ore pit and a furnace line running non-stop will still throw the occasional sick Pal. Pocketpair has never published the actual percentages behind illness or SAN drain, so treat it as a clear, reliable reduction rather than an on/off switch. One Clinic per base is the setup — there is no evidence that stacking two does anything, and each one eats a worker slot.
 Best Medicine Production Pals to Staff It
Medicine Production is one of the rarest work suitabilities in the game — only 43 Pals have it at all, and just 11 reach Lv. 5 or better — which is why so many bases have a Clinic standing empty. At level 24 the realistic pick is Splatterina: Lv. 5 Medicine Production, and with 769 spawn points it is far and away the easiest one on this list to actually find, as long as you go out at night since it only appears after dark. Wistella is the better body at Lv. 6 and is cheap to breed, but only 40 spawn points makes finding one in the wild a project. Gildra is the fallback nobody thinks of — only Lv. 4, but 325 spawn points means you will trip over one.
The Clinic only asks for Lv. 1 suitability, so anything here will switch it on. Suitability level still matters, though, because the same Pal is the one you will park on a Medicine Workbench to actually brew the medical supplies the rack needs. Long term, Silvance is the only Lv. 8 in the game and the ceiling for this job — worth breeding toward, not something you will have at level 24.
| Pal | Medicine Production | Spawn points | Other jobs | Why it works |
|---|---|---|---|---|
| Splatterina | Lv. 5 | 769, night only | Handiwork 6, Lumbering 3 | The one you can realistically catch at level 24 — nothing else is close on availability |
 Wistella Wistella | Lv. 6 | 40 | Handiwork 6, Transporting 1 | Best early body, and cheap to breed if the wild hunt is not working out |
 Gildra Gildra | Lv. 4 | 325 | Handiwork 5, Transporting 2 | Lowest level here but everywhere — perfectly fine as a first Clinic worker |
 Bakemi Bakemi | Lv. 4 | 115 | Handiwork 3, Transporting 2 | Common backup when Splatterina is busy on Handiwork |
 Mycora Mycora | Lv. 6 | 42 | Planting 6, Handiwork 4 | Covers the Clinic and the berry plantation on one slot |
 Selyne Selyne | Lv. 6 | 40 | Handiwork 7, Transporting 3 | Strongest all-round base body in this bracket |
 Venusa Venusa | Lv. 5 | 26 | Handiwork 6, Gathering 6 | Great worker, but 26 spawn points makes it a lucky find |
 Silvance Silvance | Lv. 8 | Not a wild spawn | Planting 6, Handiwork 6 | The only Lv. 8 in the game — the long-term goal, not the level 24 answer |
Assign whoever you land on to the structure directly rather than leaving them on base wandering, or they will drift onto the nearest ore pile instead. The full Medicine Production Pal list has the other 35 options if none of these are in your paldeck yet.
 Build These Alongside It
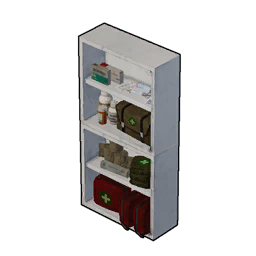
The Clinic is one piece of a base-health cluster, and the two cheapest pieces sit on the exact same technology row. Take the Medicine Rack and the Fluffy Pal Bed with it — the rack costs no worker slot and handles the Pals that get sick anyway, and better beds mean less of the SAN loss the Clinic is fighting. A Hot Spring from all the way back at level 9 is the single biggest SAN recovery item you can have this early and costs almost nothing, so build one if you somehow have not. Four levels later, the High Quality Monitoring Stand starts cutting the SAN cost of work itself. Cluster all of it near your work floor so nobody burns half a shift walking.
| Structure | Tech level | Materials | What it adds |
|---|---|---|---|
| Medicine Rack | Lv. 24 | 20 Ingot, 3 Wooden Board, 5 Cloth | Sick Pals cure themselves; no worker slot needed |
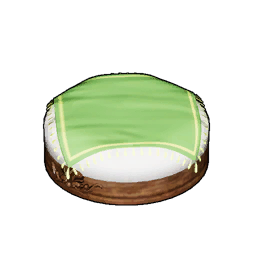 Fluffy Pal Bed Fluffy Pal Bed | Lv. 24 | 5 Cloth, 3 Wooden Board, 5 Nail, 10 Fiber | More Health and SAN recovered overnight than a straw bed |
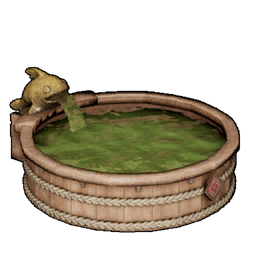 Hot Spring Hot Spring | Lv. 9 | 20 Wood, 15 Stone, 7 Paldium Fragment, 3 Aquatic Pal Fluids | Restores SAN after a shift — the cheapest morale fix in the game |
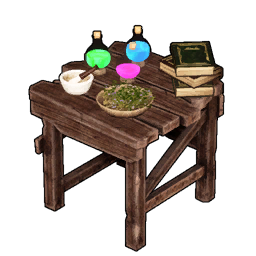 Medieval Medicine Workbench Medieval Medicine Workbench | Lv. 12 | 30 Wood, 5 Nail, 10 Paldium Fragment | Where the medicine for the rack gets made; same Medicine Production worker |
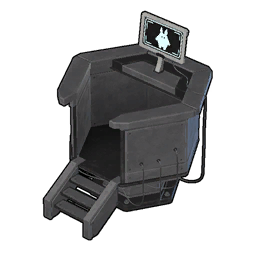 High Quality Monitoring Stand High Quality Monitoring Stand | Lv. 28 | 100 Ingot, 30 Cement | Lowers the SAN cost of working at all — the next upgrade after this row |
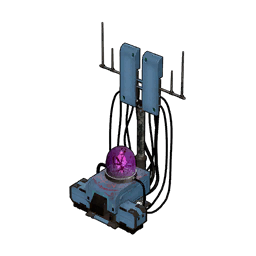 Alpha Wave Generator Alpha Wave Generator | Lv. 41 | 40 Refined Ingot, 20 Circuit Board, 10 Corrosive Solvent, 20 Paldium Fragment | Slows SAN decay across the base; placing more than one does nothing |
 Clinic vs Ancient Clinic
The Ancient Clinic at level 73 is the same building with the limits taken off, and the gap in build cost is enormous — 50 Soralite Ingot and 45 World Tree Holy Water against three workbench materials. The important thing for a level 24 player is that nothing carries over and nothing is wasted: both versions occupy exactly one Medicine Production Pal at Lv. 1 suitability, both draw zero power, and the basic Clinic will serve you for the fifty levels in between. Build this one now, swap it out when you get there, and do not feel bad about the 40 Wool.
| Spec | Clinic | Ancient Clinic |
|---|---|---|
| Technology level | Lv. 24 | Lv. 73 |
| Technology points | 2 | 4 |
| Materials | 10 Wooden Board, 20 Cloth, 15 Nail | 50 Soralite Ingot, 45 World Tree Holy Water, 15 Computer, 10 Ancient Civilization Core |
| Worker | Medicine Production Lv. 1+ | Medicine Production Lv. 1+ |
| Power draw | None | None |
| Protection | Basic — the game states its sanitation has clear limits | Top tier — holds hygiene up even under harsh base conditions |
Summary
Short version: hit level 24, spend 2 technology points, and bring 10 Wooden Board, 20 Cloth and 15 Nail — which really means 125 Wood, 40 Wool off a Ranch, and 10 Ore. Put a Medicine Production Pal on it the moment it is up, because it does nothing unstaffed, and Splatterina is the one you can actually catch at that level. Add the Medicine Rack beside it for the Pals that get sick anyway, and base illness stops being the thing that eats your evenings.
Related Guides
More base building and base health guides:
- Palworld structure list with materials and tech levels
- Palworld technology tree
- All Palworld guides
- How to Get the Medicine Rack and What to Stock in It
- How to Get the Ancient Clinic: Level 73 and Materials
- How to Get the Advanced Medicine Workbench and Its Recipes
- How to Get the Pal Pod: Level 56 and Materials
- How to Get the Ancient Pal Bed: Level 73 and Materials
- Best Food for SAN and Hunger: Top Meals and Hot Springs
- How to Get Japanese-Style Hot Spring: Cost and SAN Boost
- How to Farm Ore: Best Locations and Mining Site Setup
- How to Get More Technology Points and Ancient Points
- All Base Level Rewards and Requirements: Lv. 1 to 35
- Best Base Pals in Palworld: 7 Workers for Every Job