How to Get Hartalis: Slab Locations and Raid Fight
How to summon the Hartalis raid in Palworld — every slab fragment source with real odds (two hard expeditions guarantee one), Sacred Rain and Divine Wing explained, why the Neutral typing makes it a pure stat check, and the brutal Level 80 Ultra.
Hartalis is the celestial stag of the Sunreach Isle — and its raid version is one of the hardest fights in Palworld, a pure stat check with no elemental crutch to lean on. As with every raid boss, entry costs a Slab. Here's where every fragment drops (two expeditions guarantee them), what the fight actually throws at you, and how the Level 80 Ultra version escalates.
How to Get the Hartalis Slab
Craft the 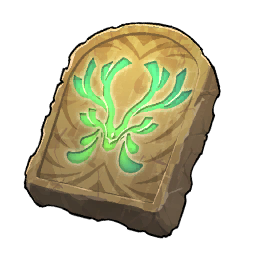 Hartalis Slab from 4×
 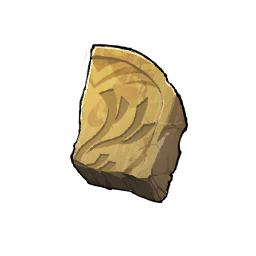 Hartalis Slab Fragment and use it at a Summoning Altar. Fragments come from the endgame loop:
| Source | Chance |
|---|---|
| Hard Feybreak & hard Sunreach Isle Pal Expeditions | Guaranteed |
| Sakurajima / Feybreak / Sunreach Isle / World Tree expeditions | ~33% |
| Tier-2 cavern chests & late-game faction camp chests | ~33% |
The Fight — Abilities Explained
The summoned Hartalis arrives at Level 70 with the heaviest scaling of the standard raids — around 180× normal HP and 4× damage on everything, while halving what your side deals to it. Its kit is relentless: Sacred Rain rains warping light pillars across the arena, Divine Wing is a shredding aerial rush, and between them it cycles radiant barrages, holy blasts and air blades.
Hartalis is Neutral, and exactly one element gets a bonus on that: Dark. A stacked Dark squad is the whole answer to the damage check — the full fight guide has the team, the passive stack, the gear and every attack in the rotation. Keep everyone spread against Sacred Rain, and consider Talismans for survivability. Full stats live on Hartalis's page.
The Ultra Version
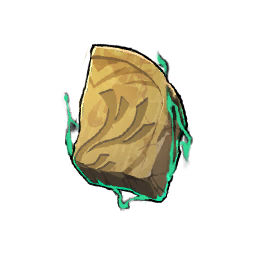
The 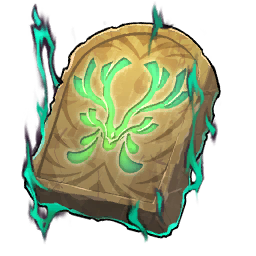 Hartalis (Ultra) Slab — 4×
  Ultra Slab Fragments — summons a Level 80 nightmare: roughly 320× HP and a staggering 13× damage, tying Ultra Xenolord for the hardest-hitting fight in the game. It does let 20% of your damage through where the other Ultras allow 9%, which is why it's usually the first one cleared; the raid boss overview compares all of them.