How to Get the Mining Cart: Level 30 and Materials
Mining Cart in Palworld: the level 30 technology unlock and its 2-point cost, all three build materials, every mining station and ore node it speeds up, why a second one does nothing, and the best Mining Pals to pair it with.
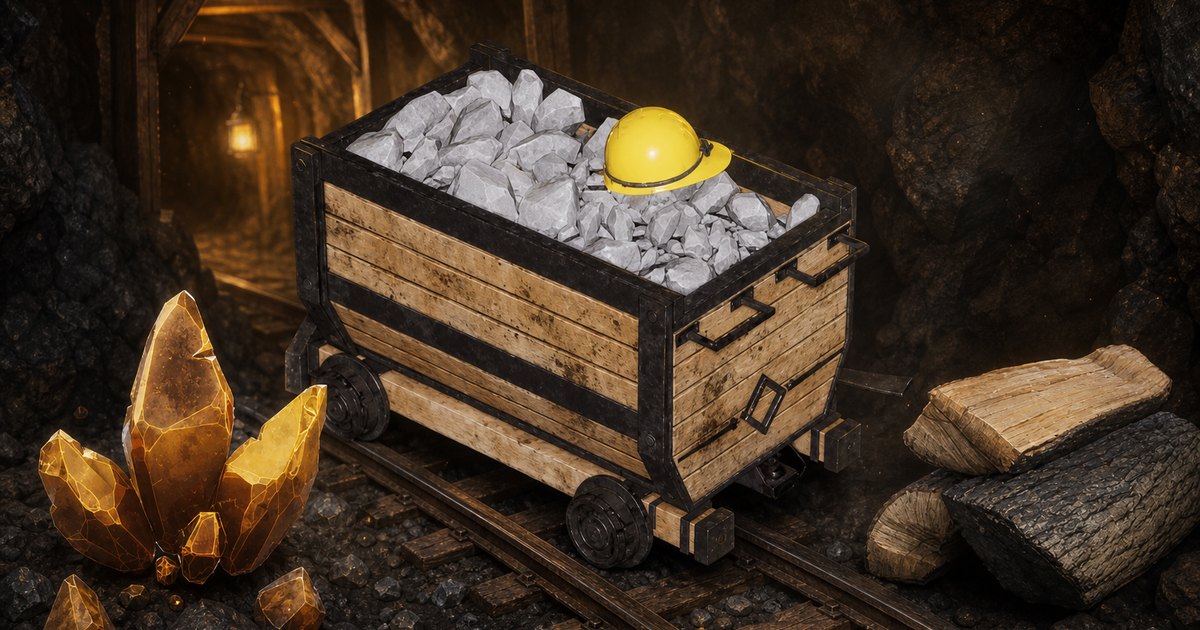
The Mining Cart is the level 30 base structure that makes every Mining job in your base finish faster, from the Stone Pit all the way up to the endgame quarries. This guide covers the technology cost, all three materials and what they really cost in Ore, which stations the speed-up applies to, why building a second one is wasted stone, and the Pals worth parking next to it.
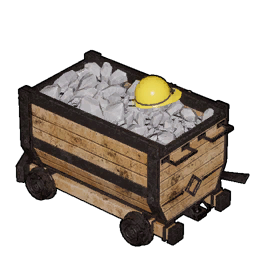 Mining Cart at a Glance
This is not a production facility and it takes no workers — it is a passive booster that sits in your base and makes your Mining Pals swing faster at everything they already do. Two things about it catch people out. The description spells out that a second cart adds nothing, and the build itself is heavier than it looks: 48,000 build work is four times what the Large Toolbox asks for and more than the Stump and Axe you probably placed two levels earlier.
| What | Detail |
|---|---|
| Type | Base structure, Other tab of the build menu |
| Technology level | Lv. 30 |
| Technology points | 2 regular points (no Ancient points needed) |
| Materials | 20 Wood, 50 Stone, 15 Ingot |
| Effect | Improves mining speed for Pals working in that base |
| Workers needed | None — it is never assigned to a Pal |
| Useful copies per base | 1 — extras have no additional effect |
| Build work | 48,000 |
| Structure HP | 5,000 (Defense 3) |
| Build material class | Wooden — it burns and it takes raid damage like wood |
| Power draw | None |
| Added in | Palworld 1.0 |
How to Unlock the Mining Cart
Reach character level 30 and spend 2 technology points in the technology tree. That is the whole gate — no boss kill, no schematic, no Ancient Technical Manual. The catch is the queue: level 30 is one of the busiest rows on the tree, with nine nodes lighting up at once for a combined 21 points. The Metal Structure Set alone wants 4, and if you have been buying weapons on the way up you will not have 21 spare. The cart is a permanent, base-wide speed increase for 2 points, which makes it one of the cheapest lasting upgrades on the row — the Makeshift Shotgun next to it costs the same and gets replaced within ten levels.
| Level 30 node | Points | Take it now? |
|---|---|---|
| Mining Cart | 2 | Yes — permanent mining speed for every pit you will ever build |
| Metal Structure Set | 4 | Yes if you are being raided — metal walls are the jump from wood to real defence |
| Mushroom Cake | 4 | Only if you are breeding — it is a cake recipe, not a meal |
| Makeshift Shotgun | 2 | Skip — you outgrow it fast, and ammo is expensive at this stage |
| Rayhound Saddle | 2 | Only if you actually caught one — check the mount speed rankings first |
 Mine Mine | 2 | Later — base traps matter less than mining throughput right now |
| Iron Gate | 2 | Later — pair it with the Metal Structure Set when you rebuild your walls |
| Meowmere | 2 | Skip unless you want the joke weapon |
| Metal Defensive Wall | 1 | Cheap filler once everything above is bought |
If the points are the problem rather than the level, the full list of technology and Ancient point sources covers every chest, statue and boss that hands them out. Levelling is the main tap, but there is enough sitting in the world to cover a couple of rows of the tree if you go looking.
 All Build Materials and Where to Get Them
Three materials, and only one of them is real work. The 20 Wood and 50 Stone are a couple of minutes of any base with workers in it. The 15 Ingot is the actual price tag: each ingot is smelted from 2 Ore at 1,000 work per bar, so the cart costs you 30 Ore and 15 furnace cycles on top of the raw stone. That is the funny part of this build — you spend a pile of ore to make ore come in faster.
| Material | Qty | Fastest route | Effort |
|---|---|---|---|
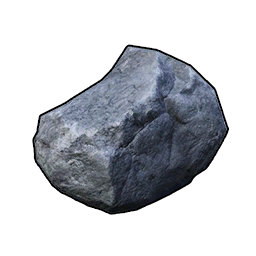 Stone Stone | 50 | A Stone Pit at 800 work per unit, or smack any boulder yourself | Trivial |
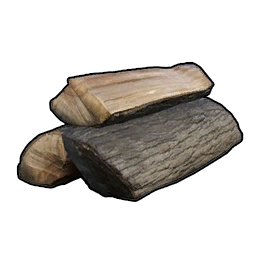 Wood Wood | 20 | Logging Site, or two trees with a decent axe | Trivial |
| Ingot | 15 | Smelt 30 Ore in a furnace with a Kindling Pal on it | The whole build |
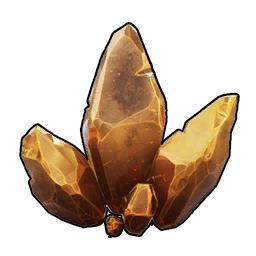 Ore Ore | 30 | 1,632 ore nodes are marked on the interactive map, or let an Ore Mining Site produce it | Moderate |
 What the Mining Cart Actually Speeds Up
Every base facility that runs on the Mining work suitability, plus the raw ore and stone nodes inside your base radius. That is a bigger list than most players realise, and it stays relevant for another 40 levels — the Soralite Quarry at level 72 is still a Mining job. The numbers below are the work each station burns per single unit of output, and they are what decide where the cart matters most: shaving a percentage off an 800-work Stone cycle is invisible, while shaving the same percentage off Soralite's 25,000 is the difference between a supply and a trickle.
| Station | Tech level | Produces | Work per unit |
|---|---|---|---|
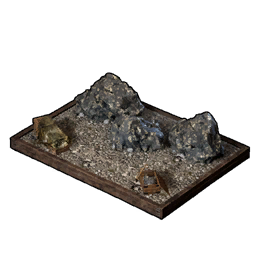
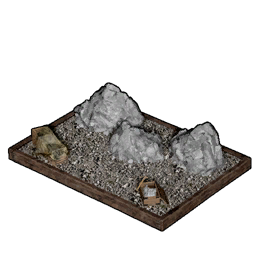 Stone Pit Stone Pit | 7 | Stone | 800 |
| Ore Mining Site | 24 | Ore | 8,000 |
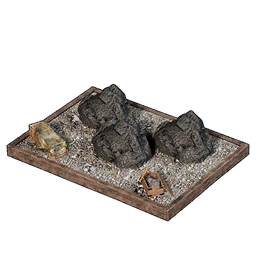 Coal Quarry Coal Quarry | 37 | Coal | 8,000 |
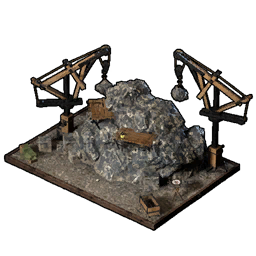 Ore Mining Site II Ore Mining Site II | 39 | Ore | 1,600 |
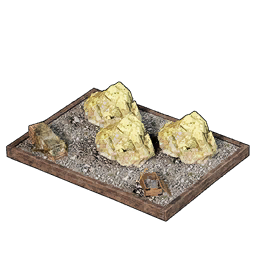 Sulfur Quarry Sulfur Quarry | 46 | Sulfur | 8,000 |
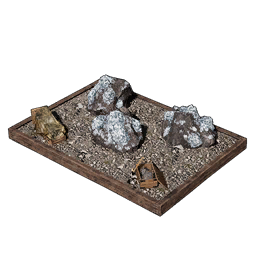 Pure Quartz Quarry Pure Quartz Quarry | 52 | Pure Quartz | 10,000 |
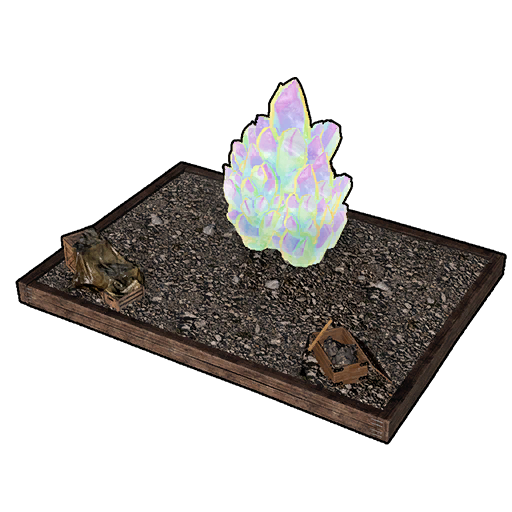 Hexolite Quartz Mine Hexolite Quartz Mine | 62 | Hexolite Quartz | 20,000 |
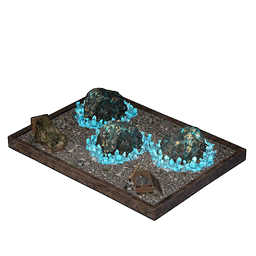 Soralite Quarry Soralite Quarry | 72 | Soralite | 25,000 |
Two rows are worth staring at. The Ore Mining Site II is not a slightly better version of the original — at 1,600 work per Ore against 8,000 it produces five units in the time the first one produces one, which is why it is the single biggest mining upgrade in the game and why the cart's percentage rides on top of it beautifully. And every one of these stations only demands Mining Lv. 1 to staff, so the requirement never rises; what rises is how badly a weak worker hurts you as the cycles get longer. All of them also drain worker sanity at the same rate, so an Alpha Wave Generator or a hot spring next door protects the throughput the cart is buying you.
Where to Place It and How Many to Build
One per base, inside your Palbox radius, and that is the end of the decision. The build data flags it as a base structure so it will not place out in the world, and the description states outright that extra copies do nothing — the game will happily let you plant four of them and three will be decoration. What it does not care about is distance to your pits, so tuck it somewhere out of the way rather than in the middle of your work floor where Pals path around it.
The one placement rule that matters is fire. The cart is a wooden build with 5,000 HP and Defense 3, which is on the fragile end for a level 30 structure, so keep it away from your furnaces and away from the perimeter your raiders come through. Losing it is not a disaster — 20 Wood, 50 Stone and 15 Ingot is cheap by level 30 money — but 48,000 build work is a real chunk of your Handiwork Pals' afternoon, and rebuilding it twice is how a raid quietly costs you a day of ore.
 Best Mining Pals to Pair With It
Fifty-seven Pals have Mining and exactly one, Aegidron, reaches the maximum Lv. 8. You will not have it at level 30, and you do not need it — the realistic goal for the level you unlock the cart at is Digtoise, which sits at Lv. 4 and has 660 spawn spots to pick from, more than any other dedicated miner in the game. Everything above it on this list is a project. Note the second column carefully: the Pals with high Mining and high Transporting, like Knocklem and Dualith, are worth double because they mine the ore and then carry it to the chest instead of leaving it in a pile.
| Pal | Mining | Other jobs | Spawn spots | Why it works |
|---|---|---|---|---|
| Aegidron | 8 | — | 0 (alpha only) | The only Lv. 8 miner in the game, and it has no wild spawns — a trophy hire, not a plan |
 Knocklem Ignis Knocklem Ignis | 7 | Transporting 7, Kindling 5 | 58 | Best all-round base body on the list: top-tier mining, top-tier hauling, and it lights your furnaces |
 Knocklem Knocklem | 7 | Transporting 7, Gathering 4 | 33 | Same mining and hauling as Ignis without the Kindling — easier to find in the Deep Sand Dunes |
 Blazamut Blazamut | 7 | Kindling 6 | 16 | Mines at Lv. 7 and smelts at Lv. 6 — the two halves of the ore-to-ingot pipeline in one Pal |
 Astegon Astegon | 7 | Handiwork 3 | 0 (alpha only) | Lv. 7 mining from an alpha kill, with just enough Handiwork to be useful between pit shifts |
 Dualith Dualith | 6 | Transporting 6, Lumbering 5, Planting 3 | 75 | Covers four jobs at once — the best single hire if your base is short on bodies |
 Anubis Anubis | 6 | Handiwork 6, Transporting 4 | 35 | Lv. 6 in the mines and Lv. 6 at the workbench — usually too valuable to leave on ore |
 Menasting Menasting | 5 | Lumbering 3 | 545 | 545 spawn spots makes it the easiest Lv. 5 miner to actually get hold of |
 Cryolinx Terra Cryolinx Terra | 5 | Lumbering 6, Transporting 4, Handiwork 2 | 156 | Mines, logs and hauls — a solid mid-game body that never sits idle |
 Digtoise Digtoise | 4 | — | 660 | The level 30 answer: 660 spawn spots, mining is all it does, and it does nothing else badly |
 Tetroise Tetroise | 4 | — | 325 | Digtoise's understudy — same single-job focus, easy to stack several of |
 Turtacle Terra Turtacle Terra | 3 | Watering 2, Transporting 1 | 773 | The most common miner on the map by spawn count — fine filler while you hunt something better |
Suitability level beats headcount at every pit, so if you are choosing between two Digtoise and one Knocklem, take the Knocklem. The full Mining ranking lists all 57 Pals with their levels if you want to check what is already sitting in your Palbox, and the best base Pals breakdown covers the workers you need for the other eleven jobs.
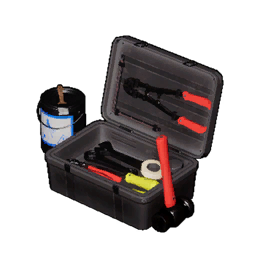 Every Work Speed Booster in the Game
The Mining Cart is one of twelve passive base boosters, and they all follow the same rules: no worker, no power, one useful copy per base. Knowing the whole set changes how you spend points, because the cheap early ones are easy to miss — the Large Toolbox at level 20 costs 12,000 build work and speeds up every crafting bench you own, which is the best value in the family by a distance. The Mining Cart lands in the middle: 48,000 build work, but the job it boosts is the one that gates your entire gear progression.
| Booster | Speeds up | Tech level | Points | Build work |
|---|---|---|---|---|
| Large Toolbox | Handiwork | 20 | 2 | 12,000 |
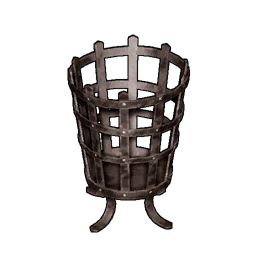 Flame Cauldron Flame Cauldron | Kindling | 21 | 2 | 16,000 |
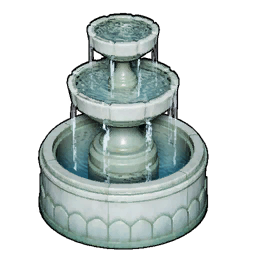 Water Fountain Water Fountain | Watering | 23 | 2 | 20,000 |
 Flower Bed Flower Bed | Gathering | 24 | 2 | 32,000 |
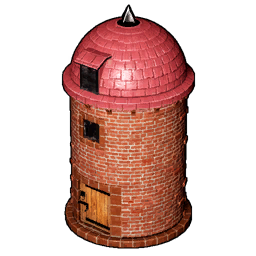 Silo Silo | Planting | 25 | 2 | 40,000 |
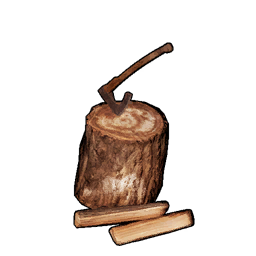 Stump and Axe Stump and Axe | Logging | 28 | 2 | 32,000 |
| Mining Cart | Mining | 30 | 2 | 48,000 |
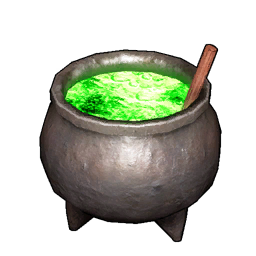 Witch Cauldron Witch Cauldron | Medicine production | 32 | 2 | 60,000 |
 Snowman Snowman | Cooling | 33 | 2 | 40,000 |
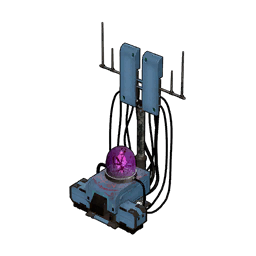 Alpha Wave Generator Alpha Wave Generator | Slows base Pal sanity loss | 41 | 3 | 50,000 |
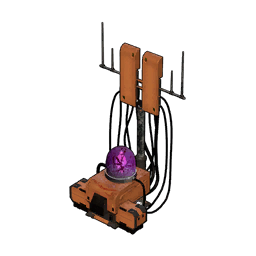 Beta Wave Generator Beta Wave Generator | All base work speed | 46 | 3 | 120,000 |
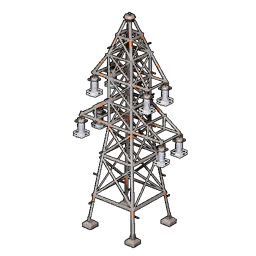 Electric Pylon Electric Pylon | Electricity generation | 48 | 2 | 60,000 |
If you are working down this list, the order that pays off fastest is Toolbox, then Mining Cart, then Stump and Axe — handiwork touches everything you craft, mining gates your ingots, and wood is the easiest of the three to farm by hand when you fall short. The two Wave Generators are a different tier entirely: the Beta Wave Generator boosts every job at once for 120,000 build work, so treat it as an endgame project rather than a booster you slot in alongside these.
Is the Mining Cart Worth 2 Points?
Yes, and it is close to the easiest yes on the tree. Two points is a tenth of what level 30 asks for in total, the effect never expires, and it applies to eight different stations across 65 levels of progression rather than one recipe you stop using. Compare that to the Makeshift Shotgun on the same row for the same price — a weapon you replace before level 40. The only reason to delay is if raiders are currently walking through your walls, in which case the Metal Structure Set comes first and the cart comes the moment you have 2 points spare again.
Summary
Short version: hit character level 30, spend 2 technology points, and bring 20 Wood, 50 Stone and 15 Ingot — which is 30 Ore through a furnace. Place one inside your base near your pits, ignore the temptation to build a second, and keep it clear of anything that catches fire. Then do the part that actually moves the needle: staff your Ore Mining Site with the highest-Mining Pals you own, because the cart multiplies whatever your workers already bring.
Related Guides
More base building and resource guides:
- Palworld structure list with materials and tech levels
- All Palworld guides
- Best Mining Pals in Palworld
- How to Farm Ore: Best Locations and Mining Site Setup
- How to Get More Technology Points and Ancient Points
- Best Base Pals: 7 Workers for Every Job
- Best Base Locations: Coordinates and Nodes
- All Base Level Rewards and Requirements
- How to Get Logging Site II: Level 43 and Materials
- How to Get Coralum Ore: Locations and Uses
- Full Palworld technology tree list
- Palworld interactive map